


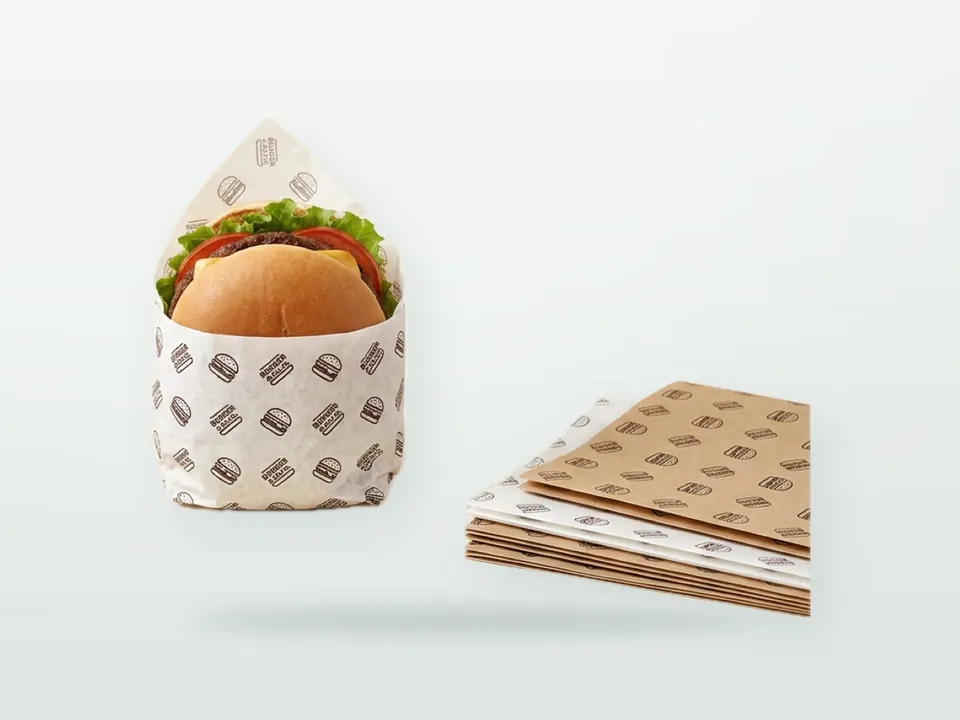
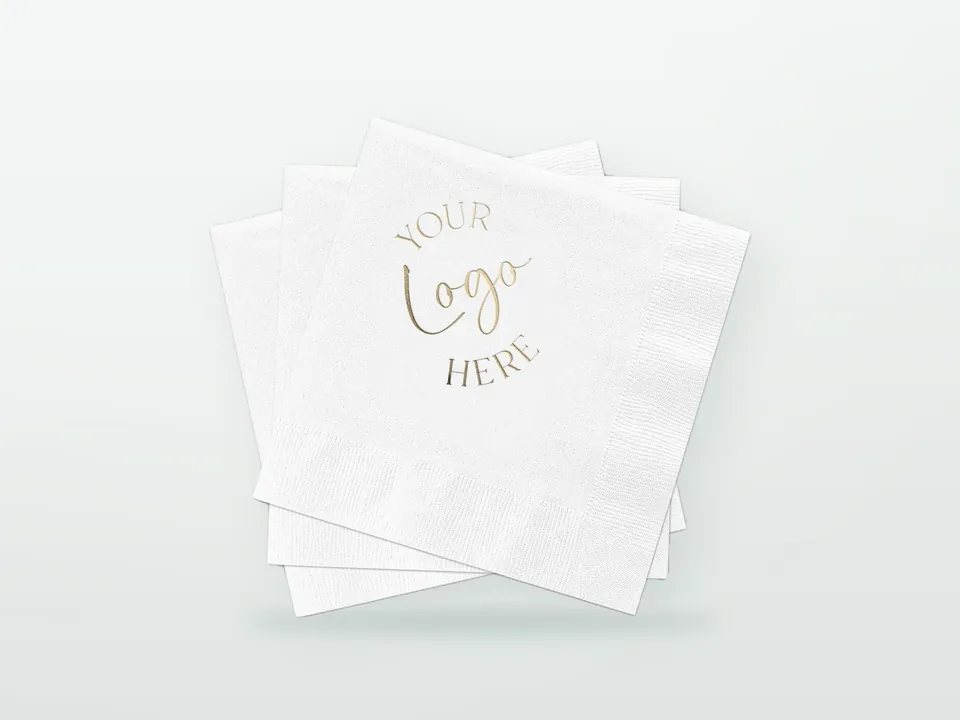

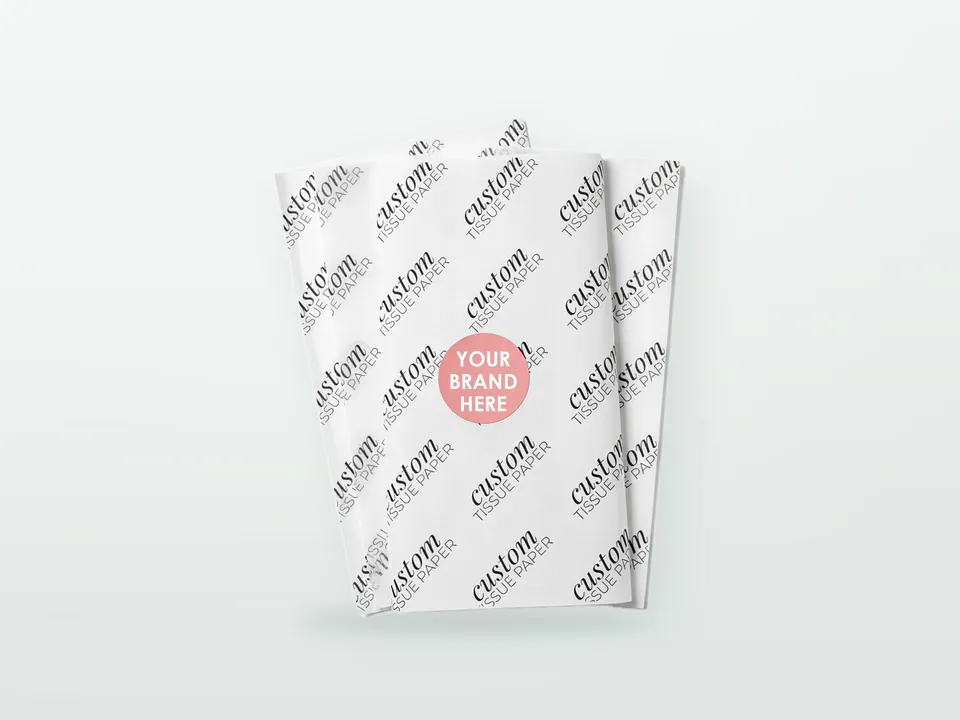

A packer who wraps each order a slightly different way produces a slightly different unboxing every time, and loses seconds on each one. The tissue itself is cheap; the labour to fold it is not. A good wrapping standard is one method, one sheet size, one place for the sticker and a time that the slowest packer can hit. Below are the three methods most benches use, how to choose between them, where the sticker goes and how to time each one. For the tissue itself (grades, print, ordering), see the custom printed tissue paper hub.
How to wrap products in tissue paper: which method fits?
Use a fold-over for speed, a full wrap with a sticker where the unboxing has to feel like a gift, and a lined box for boxed gifts and bakery boxes. In a fold-over the tissue lies in the box or bag and is folded across the product; in a lined box it lines the base and sides and folds closed over the top. The product shape, the container and the packing speed you need decide between them.
| Method | How it works | Sheet size | Speed | Best for |
|---|---|---|---|---|
| Full wrap with sticker | Product wrapped like a parcel, ends tucked, sealed with a sticker | Large enough to go round the item plus overlap | Slowest | Gifts, jewellery boxes, retail counter, premium unboxing |
| Fold-over in box or bag | Sheet laid across, product placed, two sides folded over | About inner width + 2 x depth + 10 cm | Fast | E-commerce apparel, accessories, mailers |
| Lined box | Sheet lines the base, product laid on top, tissue folded closed | Sheet longer than the box in both directions | Medium | Boxed gifts, bakery boxes (with a suitable grade) |
Decide the method first, because it sets the sheet size. For the arithmetic of which sheet fits which item, see tissue paper sizes: sheets, rolls and how much you need per order.
How do you do a full wrap with a sticker seal?
Lay the sheet flat with the face you want to show facing down, place the product in the middle, fold one long side over the product, fold the other side over it with a small overlap, then fold in the two ends like a parcel and seal the overlap with a sticker. It is the slowest of the three methods, so the details below are worth fixing on the bench card.
- Lay the sheet on the bench with the face you want to show on the outside facing down, because the face that touches the product ends up inside. Test one pack and write the rule on the bench card.
- Centre the product with its top face down on the sheet so that the fold lines up with the back of the product.
- Bring one long edge across the product, then the other edge over it with 3 to 5 cm of overlap.
- Fold the two ends in as you would for a parcel: sides first, then flaps, creasing along the product edge.
- Seal the overlap, which now sits on the back of the product, with a sticker, then decide whether the smooth front or the sealed back faces up in the box and keep it the same for every order.
Watch the tension: tissue pulled tight tears at the corners and leaves ridges, while a loose wrap looks crumpled. Choose a weight that survives the corners of your product; heavier is not always better, as explained in tissue paper GSM and grades.
Where should the sticker go?
Put the sticker where two paper layers overlap, centred on the closing seam, so that it holds the wrap and opens cleanly. A sticker that crosses the edge of the sheet onto the product can tear the tissue when removed, and a sticker over the logo hides the print.
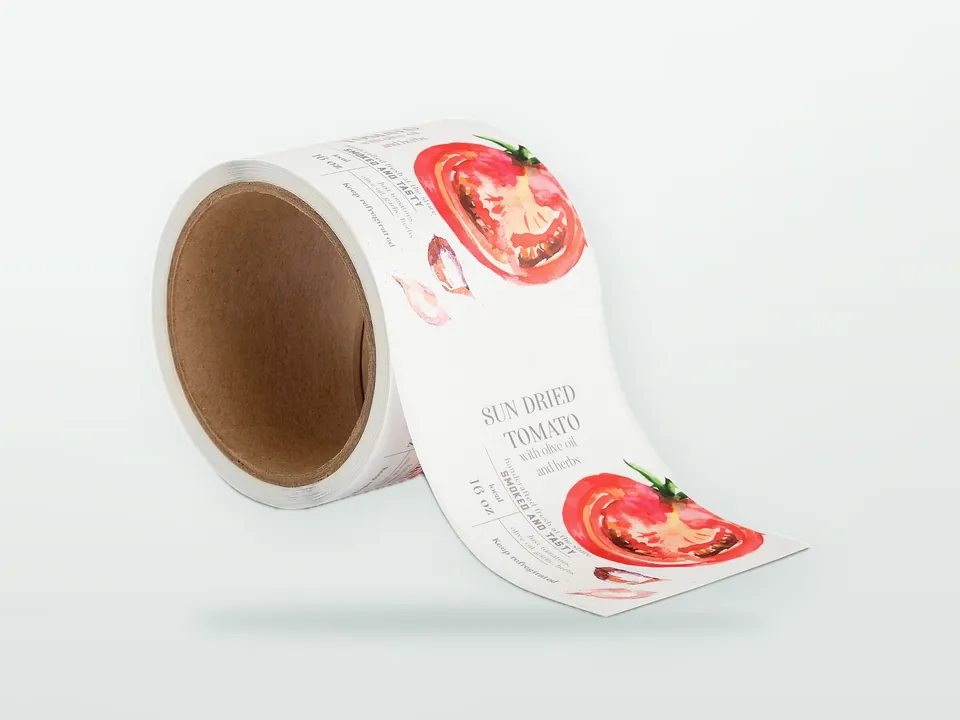
A round sticker of about 30 to 50 mm is a common choice for a parcel-style wrap; a narrow strip or a die-cut shape works for brand identity. The adhesive matters: a strong permanent adhesive on very light tissue tends to tear it when the customer opens the pack, while a removable or low-tack adhesive peels cleanly but may not hold in humid storage. Ask the label supplier for a sample on your actual tissue and test the open and peel action by hand, in warm and cold conditions. Stickers and labels also affect paper recycling; see labels and recyclability, and for materials and shapes see custom printed stickers and labels and roll labels vs sheet stickers. Some brands skip the sticker and tuck a final fold under the wrap instead, which is faster and removes one item from the pack list but is less secure in a bag.
How do you wrap in a box or bag without a sticker?
Lay the sheet across the open box or bag so it overhangs on both sides, place the product on it, fold one side over the product and then the other over that, and tuck. A fold-over uses less tissue and less time than a full wrap, which is why most e-commerce benches use it.
For a lined box, put the sheet in first so that it overhangs on all four sides (or two long sides), place the product on top, then fold the tissue over it in sequence and close the lid. For a carrier bag, a loose fold-over or a gentle crumple at the top works, but lay the sheet flat first; crumpling garments to look "full" creases the product and wastes paper. The inside of mailer boxes can also be printed to match; for the combined unboxing design, see inside printing and unboxing design for mailer boxes, and for choosing between boxes see custom printed mailer boxes. In a paper bag, custom printed paper carrier bags with a matching tissue are the usual retail pairing.
Is tissue paper enough to protect the product?
No. Tissue is a presentation layer, not cushioning. It stops scuffs and gives a clean look, but it does not absorb impact, so fragile or heavy items need inserts or a suitable box.
If an item can be damaged by a knock, use a corrugated box with a proper insert and let the tissue sit on top; see mailer box inserts and mailer box vs shipping box vs poly mailer. Tissue is also sometimes used as light void fill; if you rely on it for that, count it in your empty-space review, which is covered in e-commerce packaging and the PPWR. Tissue used to wrap or fill goods in a shipment is normally treated as part of the packaging under the PPWR and national EPR schemes (unlike tissue sold separately as wrapping paper), so include its weight in your packaging data and confirm the reporting route with your scheme; see is tissue paper recyclable.
How do you set up the packing station?
Keep the stack of sheets flat and within reach of the packer's dominant hand, put stickers on a roll in a dispenser at the same height, and fix the method, sheet size and sticker position in a one-page card at the bench.
- Sheets: pre-cut sheets in a flat tray, logo side always the same way up, rather than loose from a carton.
- Rolls: use a cutter bar at a fixed length if you cut from a roll, and mark the length on the bench.
- Stickers: roll dispenser at hand height; the same position every time.
- Standard: a laminated card with a photo of the finished wrap and the sheet size.
- Space: keep the tissue stack away from damp or wet areas, because tissue absorbs humidity and curls.
- Add-ons: the card, the thank-you note or the discount slip goes in a fixed place; see thank you cards for packages and custom printed hang tags and thank-you cards.
How do you measure packing time and cost per wrap?
Time 20 to 30 real orders for each method with a stopwatch, using at least two packers, average the results and multiply by orders per month and the labour cost per second. The method with the lowest cost per packed order is not always the one with the cheapest paper.
| Step | Example calculation |
|---|---|
| Time method A (full wrap + sticker) | 28 seconds average |
| Time method B (fold-over) | 14 seconds average |
| Difference | 14 seconds per order |
| Monthly extra at 3,000 orders | 3,000 x 14 s = 42,000 s, about 11.7 hours |
| Monthly labour cost | 11.7 hours x your hourly labour cost |
These times are illustrative, not benchmarks; your own trial is the only reliable number. Add the cost of the sticker and the extra tissue for the full wrap, then compare the total per order. A brand that needs the premium look may justify the full wrap on high-value orders only and use a fold-over on the rest, which is a common compromise. The decision on how much labour time the wrap is worth belongs with the brand team, not only with operations.
Tissue paper wrapping checklist
Before you set a standard, confirm these points:
- Method chosen per product type: full wrap, fold-over or lined box.
- Sheet size per product, tested with real items, not only the nominal size from the table.
- Logo orientation: which face and which direction shows when the pack is opened.
- Sticker: size, position, adhesive tested on the tissue and opening behaviour checked.
- Weight and grade: light enough to be economical, strong enough not to tear on the corners.
- Packing time: timed trial of at least 20 orders per method.
- Protection: tissue is not cushioning; add inserts or a stronger box where needed.
When your wrap standard is ready, send your tissue requirements and the product list to 9 Packaging or return to the custom printed tissue paper hub for the full specification checklist.