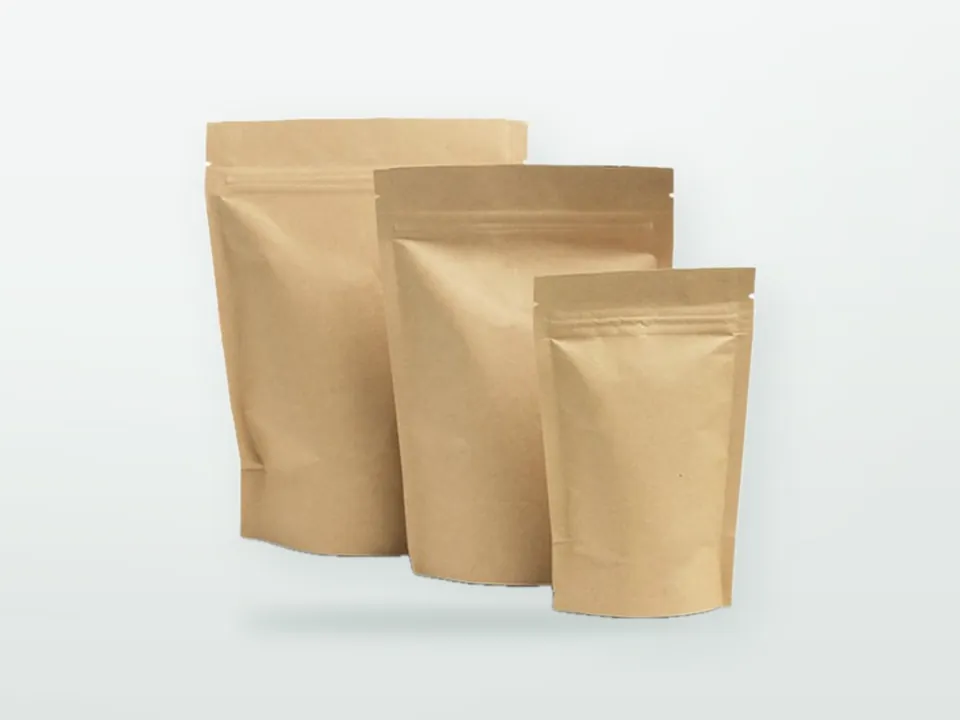

A supplier's size chart may say a 250 g pouch is a certain width and height, yet your 250 g of granola overflows it while someone else's 250 g of sugar leaves half of it empty. Pouch sizes are really a question of volume, not weight. This guide shows how to size custom printed stand-up pouches from your product's bulk density, how to read pouch dimensions, and how to confirm the choice with a fill trial before you commit to printed stock.
Why do generic pouch size charts mislead?
Generic charts assume a typical product density, but bulk density varies several-fold between products, and even between grinds or batches of the same product. A chart built around a dense product will undersize a pouch for a light, bulky one, and the reverse. Use charts only as a starting point; size from your own product's measured density.
Several other factors change the answer:
- Particle shape and size: flakes, clusters and whole beans pack with more air than powders.
- Settling: products settle during transport, so a pouch that looks full at filling can look slack on the shelf.
- Format: a flat-bottom pouch holds more for the same footprint than a stand-up pouch.
- Features: the zipper and tear area use height that cannot hold product.
How do you size a pouch? The step-by-step method
Measure bulk density, convert fill weight to volume, add headspace, choose a format and candidate dimensions that provide that volume below the zipper, then confirm with a fill trial. The steps below take an afternoon with a kitchen scale and measuring jug, plus sample pouches.
Step 1: measure bulk density
Bulk density is the mass of product per unit volume as it sits loosely, including the air between particles, usually expressed in g/ml (or kg/l).
- Take a straight-sided container of known volume, for example a 1-litre measuring jug.
- Fill it the way your filler will: poured, not packed down.
- Level the top without compressing.
- Weigh the product (net of the container).
- Divide mass by volume. For example, 400 g in 1,000 ml gives 0.40 g/ml.
Then tap or gently shake the container for a minute and note how far the level drops. The settled (tapped) density tells you how much the product will settle in transit. Repeat with two or three batches if your product varies.
Step 2: convert fill weight to product volume
Product volume = fill weight / bulk density. For 250 g at 0.40 g/ml, the product occupies about 625 ml.
Step 3: add headspace
Headspace is the empty space above the product needed for sealing, for the consumer to open and reclose the pouch, and for settling. A common starting allowance is in the region of 10-20 % of product volume, adjusted after trials. Products that settle a lot, pouches that will be nitrogen-flushed, and freshly roasted coffee that releases gas may need different allowances.
Step 4: allow for the zipper, seals and tear area
The volume you need must sit below the zipper. Above it, the pouch needs room for the zipper band, the tear notch or laser score, and the top seal. Seals around the edges also reduce internal width and height compared with the quoted outer dimensions. Together these allowances often take several centimetres of height, depending on zipper type and seal widths. See pouch features for zipper placement.
Step 5: choose format and candidate dimensions
Pick a format first, because it changes the geometry: see pouch types compared. Then shortlist two or three candidate sizes that should hold the required volume. Simple geometric formulas tend to mislead because a filled pouch bulges rather than forming a neat box; the most reliable shortcut is to compare against a reference pouch you already know the capacity of, then scale.
Step 6: confirm with a fill trial
Order blank (unprinted) or digitally printed sample pouches in the candidate sizes, fill them with real product using your real process, and check:
- Fill line sits comfortably below the zipper with the planned headspace.
- The pouch stands upright without leaning or tipping.
- Seals are clean (no product trapped in the seal area).
- The zipper closes after the first opening and the pack reseals with product settled.
- The front panel looks full enough after a shake test simulating transport.
- The filled pouch fits your shelf height, outer case and pallet pattern.
Only after the trial should the printed size be fixed.
Worked example: sizing a 250 g pouch
The table shows how strongly density changes the volume needed for the same 250 g fill. Densities are illustrative, not values for specific products; measure your own.
| Illustrative bulk density (g/ml) | Product volume for 250 g (ml) | With 15 % headspace (ml) | What this suggests |
|---|---|---|---|
| 0.25 (light, bulky product) | 1,000 | about 1,150 | A large pouch; consider flat-bottom for efficiency |
| 0.40 | 625 | about 720 | A mid-size stand-up or side-gusset pouch |
| 0.60 | about 417 | about 480 | A compact stand-up pouch |
| 0.80 (dense, fine product) | about 313 | about 360 | A small pouch; check it still gives enough print area |
Example: a roaster measures its whole-bean coffee at 0.40 g/ml loose. Product volume is 625 ml; with 15 % headspace the pouch needs roughly 720 ml of usable volume below the zipper. Because freshly roasted beans release gas, the roaster plans a one-way valve and confirms with a fill trial in two candidate sizes, choosing the one where the fill line sits clear of the valve and zipper. The same roaster's ground coffee will be denser, so the 250 g ground SKU may need a smaller pouch rather than the same size.
How are pouch dimensions written?
Pouch dimensions are usually written as width x height x bottom gusset, in millimetres, measured on the flat empty pouch from outer edge to outer edge. For side-gusset and flat-bottom styles, the gusset or base depth is added.
| Dimension | What it measures | Watch out for |
|---|---|---|
| Width (W) | Across the front panel, edge to edge | Side seals reduce the internal width |
| Height (H) | From the bottom edge to the top edge | Includes top seal, zipper band and tear area |
| Bottom gusset (G) | Depth of the base gusset | Some suppliers quote the total unfolded gusset, others the opened depth; confirm |
| Side gusset | Depth of each side gusset (side-gusset, quad seal, flat-bottom) | Check whether quoted per side or total |
Before comparing two quotations, ask each supplier to confirm how they measure, and whether quoted dimensions are outer or internal. Typical manufacturing tolerances on dimensions are agreed at quotation and technical review.
For US buyers: 1 inch = 25.4 mm and 1 oz = about 28.35 g, so an "8 oz" pouch holds about 227 g of product. Fluid ounces measure volume, not weight, so do not mix the two on a spec.
How do width, height and gusset trade off?
For a given volume, a wider and shorter pouch with a deeper gusset stands more steadily; a taller, narrower pouch shows a larger front panel but is more likely to tip and to slump forward. Increasing the gusset adds volume and stability efficiently, while increasing height adds volume but also adds zipper-to-product distance and tipping risk.
Practical rules:
- If the filled pouch leans or tips, increase the gusset or switch to a K-seal or flat-bottom base before increasing height.
- If the front panel looks half-empty after settling, reduce height or width rather than overfilling.
- If shelf height is tight, choose width and gusset over height.
- If the product is dense and the pouch looks tiny, consider a slightly larger format with a stiffer laminate only if it does not create excessive empty space.
Size, empty space and packaging minimisation
Oversized pouches cost more in material, transport and EPR fees, and can look misleading to shoppers. Under the EU PPWR, Regulation (EU) 2025/40, packaging minimisation requirements (Article 10) apply from 2030, so pouch size and weight should be justified by the product's needs. Consumer-protection rules on misleading packaging in the EU, UK and US also apply to sales packs that look fuller than they are. Our PPWR guide explains the minimisation and empty-space provisions and who they apply to.
Sizing several SKUs at once
Brands with several fill weights or flavours can often reduce costs by standardising on fewer pouch sizes. A shared size simplifies stock: with gravure or flexo each design still needs its own print set-up, but the laminate, pouch-making settings and case packs stay the same. Run the density method for each product; if two SKUs need volumes within a narrow band, one pouch size may serve both with a slightly different fill level. Cost implications are covered in packaging cost drivers.
What to send for a sizing review
If you want the size checked before quoting, send:
- Product description and fill weight per SKU.
- Measured bulk density (loose and settled), or a product sample.
- Preferred format and features (zipper, valve, window).
- A reference pouch you currently use, with its dimensions and how full it looks.
- Shelf height, outer case or shipper dimensions, and pallet pattern if fixed.
- Filling method and whether nitrogen flushing is used.
Send these through our custom printed stand-up pouches page or contact page; proposed dimensions are confirmed at technical review and by sample fill trial.