


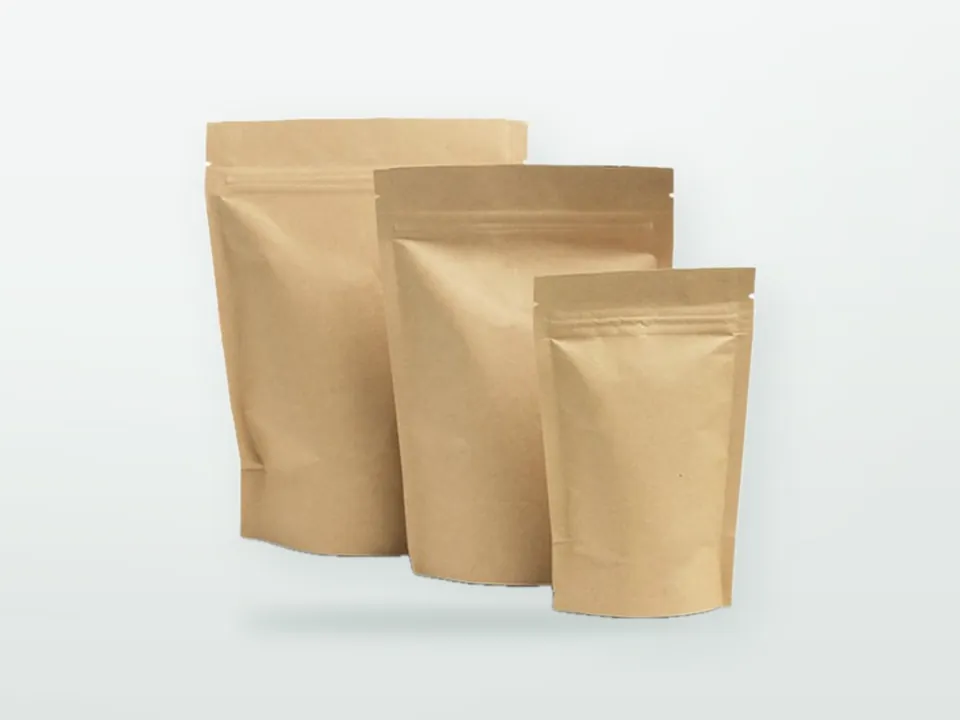

Zippers, valves, tear notches, hang holes, windows and spouts decide how a pouch opens, recloses, vents and hangs, and each one also affects barrier, filling, cost and recyclability. They are the parts the consumer actually handles, so a poor choice shows up quickly: a notch that tears crooked, a zipper that will not close, a coffee pack that inflates. This guide covers pouch zipper options and the other common features for custom printed stand-up pouches, with placement advice and the trade-offs to discuss with a converter.
Which pouch zipper options are available?
The main pouch zipper options are press-to-close zippers, slider zippers, pocket zippers and child-resistant zippers. Press-to-close is the most common and least costly; sliders are easier for consumers with large or heavy packs; pocket zippers keep the zipper inside a tear-off seal for tamper evidence; child-resistant zippers are for products that legally or ethically need them.
| Zipper type | How it works | Best for | Points to check |
|---|---|---|---|
| Press-to-close (single or double track) | Interlocking profiles pressed together by fingers | Most food and retail pouches | Profile strength vs pouch weight; audible "click" profiles available |
| Slider | A plastic slider opens and closes the profiles | Larger packs, pet food, users with limited dexterity | Adds cost and thickness; slider must stay attached in transport |
| Pocket zipper | Zipper sits under a top seal; consumer tears off the seal to reach it | Flat-bottom pouches, large packs, tamper evidence | Needs a clear tear line or notch above the zipper |
| Child-resistant | Requires a combined action (e.g. press and pull) to open | Products requiring child-resistant packaging | Must be tested against the applicable standard for the product and market |
| Hook-and-loop style | Interlocking hooks; closes without precise alignment | Bulk or frequently opened packs | Less common; check availability and cost |
Zipper material must match the pouch structure. A PE zipper suits a PE sealant; a mono-PP pouch needs a PP zipper to stay within PP design-for-recycling guidelines. Zippers also add a localised thickness that the sealing jaws must handle, and the zipper area is a potential leak path, so seal quality around it is checked during development.
Where should the zipper go?
Place the zipper far enough below the top seal to leave room for the tear notch and tear line above it, and far enough above the product so that filling and reclosing do not trap product in the profiles. The zipper band and the space above it reduce usable height, which matters when you size the pouch; see pouch sizes. On flat-bottom pouches, front-facing zippers or pocket zippers are common because the top opening is wide.
Do I need a degassing valve?
Yes, if you pack freshly roasted coffee and seal it soon after roasting. Roasted coffee continues to release carbon dioxide for days to weeks after roasting; without a way out, the gas can inflate and stress the pouch. A one-way degassing valve lets CO2 escape while limiting oxygen coming in.
How the valve works: a small valve body, sealed or welded into the pouch wall, contains a membrane or flap and typically a thin film of oil or similar medium. Internal pressure opens it to release gas; once pressure equalises, it closes again. Points to agree:
- Position: usually upper front or back panel, clear of the zipper, folds and key artwork; the print design leaves a clear area for it (our packaging artwork guide covers marking such no-print zones on the dieline).
- Insertion: valves are applied during pouch making (pre-made pouches) or on the filling line (roll stock), and the laminate needs a punched hole or perforation under the valve.
- Material: for mono-PE or mono-PP pouches, a valve body of the same polymer family keeps the pack closer to recycling guidelines.
- Not a squeeze-to-smell feature: aroma release is a by-product; the purpose is pressure relief.
Some roasters degas coffee before packing and skip the valve; others use nitrogen flushing plus a valve. The choice depends on roast, grind, time to packing and shelf-life target. Ground coffee releases gas faster than beans.
Tear notches and laser scoring
A tear notch is a small cut in the side seal that starts the tear; laser scoring is a line partially ablated into the outer film so the pouch tears straight along it. Use a tear notch on almost every heat-sealed pouch; add laser scoring when a clean, straight opening matters or the laminate tears unpredictably.
Laminates with oriented films such as PET or BOPP can tear unpredictably when opened by hand, which is why many consumers end up using scissors. A laser score directs the tear along a straight line without cutting through the barrier or sealant layer. It needs a laser-scorable outer film and careful set-up; it is planned at the structure stage, not added at the last minute. Tear notches are usually placed on one or both side seals above the zipper, with an arrow or "tear here" printed nearby.
Hang holes
Hang holes let a pouch hang from a peg in retail displays. The two common shapes are the round hole and the euro slot (sometimes called a sombrero hole), which spreads the weight and resists tearing better on heavier packs. The hole sits in the top seal area, so the top seal must be wide enough to keep the hole within a sealed zone and away from the zipper. If a hang hole is not needed for every channel, it can be omitted on a separate run, but each variant should be planned on the dieline.
Windows
A window shows the product through a transparent, unprinted area of the pouch. In reverse-printed clear laminates, it is created simply by leaving the white and colour inks out of that area. It is only possible where every layer is transparent, which rules out foil and most metallised structures.
Points to weigh before adding a window:
- Barrier and light: transparent high-barrier films (AlOx, SiOx or EVOH-based) can provide oxygen barrier, but the window admits light, which can accelerate quality loss in coffee, nuts and oily snacks.
- Kraft pouches: paper is opaque, so a window requires a die-cut opening patched with transparent film, which adds steps and a potential weak point.
- Product appearance: a window shows broken pieces, settling and empty headspace as well as the product.
- Placement: keep the window clear of seals, gussets and the valve area.
For barrier implications, see pouch laminate structures and barrier properties.
Rounded corners, handles and other details
Smaller details can improve handling and appearance:
- Rounded corners: die-cut corners give a softer look and reduce the risk of sharp corners puncturing neighbouring packs or scratching hands.
- Handles: die-cut handles or attached handles on large pet-food or bulk packs.
- Tin ties: wire-and-paper or plastic strips sealed to the top of side-gusset coffee bags for fold-over reclosing; they complicate recycling because of the mixed materials.
- Matt, gloss and soft-touch finishes: a print-stage choice, but often grouped with features in quotations.
Spouts and fitments
Spouts turn a stand-up pouch into a pourable or squeezable pack for liquids and purées. A spout fitment with a cap is sealed into the top or a corner of the pouch, and the bore size is matched to the product's viscosity and the intended use (sipping, pouring, dosing). Spouted pouches need careful matching of fitment material to the sealant, filling through the spout or before sealing, and leak and drop testing. For drinks and baby food, closure safety requirements also apply.
How do features affect barrier, cost and recyclability?
Every feature adds cost and complexity, and several add a component made from a different material or a possible leak path. The table summarises typical effects so you can prioritise.
| Feature | Unit cost effect | Barrier risk | Recyclability consideration |
|---|---|---|---|
| Press-to-close zipper | Low to moderate | Small leak path at zipper seal | Choose zipper polymer matching the pouch |
| Slider | Moderate to higher | As zipper | Slider is an extra component; check material |
| Pocket zipper | Moderate | Lower (sealed until opened) | As zipper |
| Degassing valve | Moderate | Hole under valve; valve quality matters | Valve body material should match polymer family |
| Tear notch | Minimal | None | None |
| Laser scoring | Low to moderate | Low if correctly set | None significant |
| Hang hole | Minimal | None if outside product area | None |
| Window | Depends on structure | Light exposure; needs transparent barrier | Depends on structure |
| Rounded corners | Low | None | None |
| Spout | Higher | Fitment seal is critical | Fitment material should match; caps vary |
| Tin tie | Low to moderate | None directly | Mixed materials; reduces recyclability |
For the PPWR implications of components and how mono-material designs are assessed, see recyclable mono-material pouches and the PPWR. For how each feature fits the different shapes, see pouch types compared.
Feature checklist for your specification
List these on your brief so the converter can confirm compatibility at technical review:
- Zipper type and preferred position (distance from top), or "no zipper".
- Tear notch: one or both sides; laser scoring if a straight opening is required.
- Degassing valve: yes or no; preferred panel and position.
- Hang hole: none, round or euro slot.
- Window: size and position, and confirmation that the structure is transparent.
- Corners: square or rounded.
- Handle, spout or tin tie if needed.
- Recyclability target, so components can be chosen in the same polymer family.
- Filling method (hand, pre-made pouch filler, form-fill-seal), because some features are applied differently on roll stock.
Include the checklist with your artwork and quantities when you request a quote through our custom printed stand-up pouches page or contact page.