








Hang tag sizes are set by convention, not by a standard, so the right size is the one that carries your content and suits the product. A tag that is 5 mm too narrow will not fit a barcode and a size grid; one that is too large flaps on a shirt and gets caught in the till drawer. Fixing the numbers before the dieline is drawn avoids most reprints. Below are typical dimensions in mm and inches, hole and loop placement, and the limits of custom die-cut shapes. It belongs to the custom printed hang tags and thank you cards cluster.
What is the standard hang tag size?
There is no formal standard for hang tag size. The most common finished size is about 50 x 90 mm (roughly 2 x 3.5 in), the same as a business card, because it fits on most garments and hardware and matches the proportions buyers expect. Many brands use 40 to 55 mm wide and 70 to 110 mm tall.
The business-card proportion is popular for practical reasons: it is large enough for a logo, size, price and barcode on one face, and it divides efficiently from a standard press sheet, which keeps unit cost down. Anything noticeably outside it should have a reason, such as a bold large tag as a display feature or a very small tag for jewellery.
Hang tag size chart by product type
Use this as a starting point, then test a printed mock-up on the real product. Sizes below are typical finished dimensions, not standards.
| Product | Typical finished size (mm) | Approx. inches | Notes |
|---|---|---|---|
| Fine jewellery, earrings, rings | 20 x 40 to 35 x 55 | 0.8 x 1.6 to 1.4 x 2.2 | Small tag, loop or elastic; barcode often on a separate sticker |
| Cosmetics, candles, soaps, small gifts | 40 x 70 to 50 x 90 | 1.6 x 2.8 to 2 x 3.5 | Tag on string or ribbon around the neck or lid |
| T-shirts, knitwear, general apparel | 45 x 90 to 55 x 100 | 1.8 x 3.5 to 2.2 x 4 | Hole near the top centre or a corner |
| Denim, outerwear, workwear | 50 x 100 to 65 x 120 | 2 x 4 to 2.6 x 4.7 | Thicker board; larger area for fabric or fit story |
| Bags, leather goods, accessories | 55 x 90 to 70 x 130 | 2.2 x 3.5 to 2.8 x 5.1 | Often a premium or parcel shape |
| Bakery and gift tags, bread bags | 35 x 70 to 50 x 100 | 1.4 x 2.8 to 2 x 4 | Often a hand-written area |
| Two-fold tags (booklet style) | 50 x 90 folded; 100 x 90 opened | 2 x 3.5 folded | Adds a panel for care, story or sizing; needs a crease |
Insert cards for parcels use different formats; see thank you cards for packages.
Rectangular, parcel or custom die-cut: which shape?
Rectangular tags are the cheapest and most flexible. Parcel-shaped tags add a recognisable luggage-tag look at modest extra cost. Custom die-cut tags give a unique silhouette but require a dedicated cutting die and often a lower sheet yield.
Rectangular tags
A plain rectangle, with square or rounded corners, is the default. Rounded corners (radius commonly around 2 to 5 mm) reduce snagging and wear, and make the tag look finished. A rectangle nests tightly on the press sheet and the die is simple, so this shape suits large runs and many SKU versions.
Parcel-shaped tags
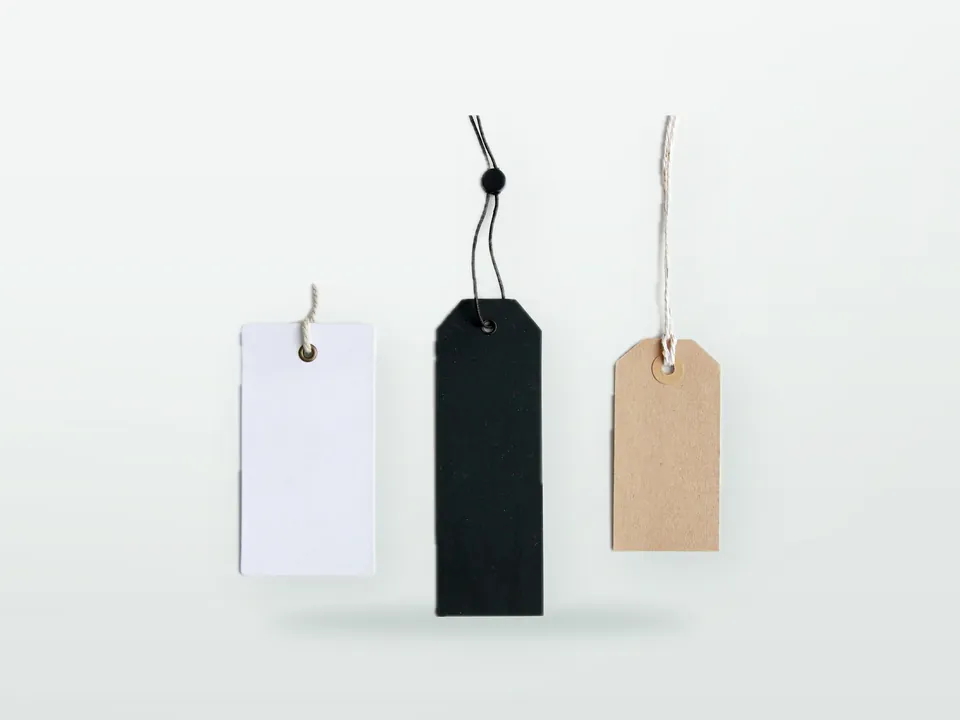
A parcel or luggage-style tag is a rectangle with both top corners cut at an angle and a reinforced hole centred at the narrow top, the shape traditionally used on parcels and luggage. Typical proportions run about 45 to 60 mm wide by 90 to 120 mm tall. The angled corners sit within the sheet layout with some trim waste, so unit cost is a little above a plain rectangle. In the UK, "parcel tag" can also mean a shipping label, so briefs should say "luggage-style hang tag" to avoid confusion.
Custom die-cut tags
A custom die-cut shape follows a brand outline or product silhouette: circles, arches, a garment shape, a scalloped edge, a window cut-out. Each design needs its own cutting die, and the layout on the sheet determines how much board is wasted. Shapes work best when they keep a simple perimeter and a solid area around the hole.
Where should the hole go and how big should it be?
Place the hole at least 5 to 6 mm in from any edge, with a diameter of about 3 to 5 mm for string. A hole too close to the edge tears out when the tag is pulled; a hole too large weakens the tag and shows the string knot.
Practical rules:
- Centre the hole on the top edge for a symmetrical hang, or in a top corner for a more casual drop.
- Add an eyelet or a reinforcing patch if the tag will carry weight, be tagged with a gun or be handled many times.
- Keep text and barcodes 3 to 4 mm clear of the hole and the cut edge.
- For a slit hole (for plastic fasteners or a slot for a belt loop), send the exact dimensions; slit length and width are not interchangeable with a round hole.
String length, loop closure and fastener choice are covered in hang tag strings and attachments.
What limits a custom die-cut shape?
Fine points, thin necks and tight inside curves are the main limits. Board fibres tear or crush at sharp points; narrow bridges between a tag and a cut-out snap; very small cut-outs can fill with dust or fail to punch cleanly. Thicker board and kraft make these issues more visible, because the cut edge is rougher and the board is stiffer.
Design guidance, before a die is cut:
- Avoid points sharper than roughly 90 degrees on thick board; round them slightly.
- Keep bridges and narrow necks at least 3 mm wide in thin stock, wider in thick board.
- Keep a minimum inside radius around 2 mm.
- Avoid detail that depends on the cut edge being perfectly clean on kraft.
- Prefer a window cut-out only if the board remains rigid around it.
- Supply a vector die line on its own layer; the final die is confirmed at technical review.
These are design rules of thumb; the final limits depend on the board and are confirmed at quotation.
How do size and shape affect cost?
Size and shape change cost through board consumption per tag and sheet yield: more tags per sheet means a lower unit cost. A larger tag uses more board, a shape that nests poorly wastes more, and a custom shape carries a one-off cutting die cost. Rounding corners usually adds little to unit cost; a custom die adds a tooling cost that spreads over the run.
Practical consequences:
- Moving from 55 x 100 mm to 50 x 90 mm can change how many tags fit on a sheet; ask for both layouts to be quoted if you are flexible.
- For several SKUs, using one die shape across the whole range keeps tooling to one die.
- A custom die pays back on larger runs or when the shape is the brand.
How to read the cost lines in a quotation is explained in packaging cost drivers, and MOQ depends on board, size, print method and number of versions; see what determines MOQ.
How should you prepare a hang tag dieline?
Draw the tag at final size on a die line layer, add 3 mm bleed, mark the hole and its diameter, and keep all text inside a safe margin of 3 to 4 mm. Send outlined fonts and Pantone references. The packaging artwork guide covers file preparation in general.
For double-sided tags, state which side faces out and whether the reverse is printed; for two-fold tags, mark the crease and allow for board thickness in the fold.
Hang tag sizing checklist for a quotation
Send this with your enquiry at contact or in the packaging RFQ template:
- Product type and the surface the tag hangs on.
- Preferred finished size in mm; alternate sizes if you are flexible.
- Shape: rectangular (corner radius), parcel, or custom (attach the vector outline).
- Hole: diameter, position, and whether reinforced or eyeletted.
- Folded or flat; number of printed sides.
- Number of versions and quantity per version.
- Board and gsm (see hang tag materials).
Return to the custom printed hang tags hub for the full specification guide.
Size follows content: see what to print on a clothing hang tag before fixing dimensions.