



The right folding carton style follows from three facts: how heavy the product is, whether it is packed by hand or on an automatic cartoner, and how the shopper opens and uses the pack. Most structural problems come from choosing the style without those facts on the table: a tuck bottom that pops open under a 400 g jar, a crash-lock base specified for a product packed by hand twelve times a day, a sleeve that slides off in transit. Below, the main styles are compared on what actually decides between them, so the structure fits the product before artwork starts. For board, printing and ordering, start from the custom printed folding cartons hub.
Which folding carton style should you choose?
Light products packed by hand suit tuck end cartons. Heavier products, or faster hand packing, justify a crash-lock bottom. Automatic lines often run seal end cartons. Presentation-led products such as chocolates, pastries and gift sets suit sleeves, trays or tray-and-lid combinations.
| Style | Product weight (indicative) | Packing method | Board use on sheet | Relative tooling and gluing complexity |
|---|---|---|---|---|
| Reverse tuck end (RTE) | Light | Hand or simple automation | Efficient (blanks nest well) | Low: one straight glue seam |
| Straight tuck end (STE) | Light | Hand | Less efficient than RTE | Low: one straight glue seam |
| Tuck top, 1-2-3 (snap lock) bottom | Light to medium | Hand | Moderate | Low to moderate; bottom folded by packer |
| Tuck top, crash-lock (auto) bottom | Medium to heavier | Hand, fast erecting | More board in bottom flaps | Higher: extra glue points on folder-gluer |
| Seal end | Light to medium | Automatic cartoner | Efficient | Low on carton; adhesive applied at packing |
| Sleeve | Depends on tray or product | Hand or automatic | Very efficient | Low: one glue seam |
| Tray (4- or 6-corner glued) | Light to medium | Hand or tray erector | Large blank | Moderate: corner gluing |
| Display / counter carton | Light items in multiples | Hand | Moderate to large | Moderate; perforation design matters |
"Light" and "heavy" depend on board grade, caliper and carton size, so treat the weights as a starting point and test with a white sample of the actual product. The carton dielines and prototyping guide explains how those samples are made.
Reverse tuck end vs straight tuck end: what is the difference?
Both close with a tuck flap at the top and bottom. On a reverse tuck end (RTE) carton, the top tuck hinges from the back panel and the bottom tuck from the front panel. On a straight tuck end (STE) carton, both tucks hinge from the same panel, usually the back. RTE is generally cheaper to produce; STE gives a cleaner front face and suits window cartons.
The cost difference comes from the printed sheet. Because RTE tucks point in opposite directions, the blanks can be nested head to tail more tightly, so more cartons fit on each sheet and less board is wasted. STE blanks have both tucks on the same side and nest less efficiently.
The visual difference is on the front panel. With RTE, the bottom tuck hinges from the front, so the bottom closure edge is visible when the carton stands. With STE, both hinges sit at the back and the front panel edges stay clean, which helps when a large window or a full-bleed front design is used.
| Factor | Reverse tuck end | Straight tuck end |
|---|---|---|
| Tuck position | Opposite panels (top from back, bottom from front) | Same panel (both from back) |
| Sheet efficiency | Higher | Lower |
| Front panel | Bottom hinge visible on front | Clean front edges |
| Window cartons | Possible | Preferred; window panel stays uninterrupted |
| Typical uses | Cosmetics, supplements, pharma, light retail | Window cartons, display-led retail, gift cartons |
Closures on tuck ends: friction lock, slit lock and dust flaps
A plain tuck flap stays closed only through friction between its edge and the carton walls. Small cuts at the tuck shoulder (a friction lock) or slots and tabs (a slit lock or tab lock) hold it more firmly, which matters for products that are opened and reclosed, such as tea or supplements. Dust flaps fold in under the tuck to close the corners and support the tuck. Their shape affects how easily the carton closes and whether small items can escape.
When is a crash-lock bottom worth the extra cost?
A crash-lock (auto-bottom) carton is worth it when products are heavier than a tuck bottom can reliably hold, or when hand-packing speed matters. The bottom flaps are pre-glued on the folder-gluer, so the carton ships flat and the base locks into place in one movement when the carton is opened. The cost is extra board in the bottom flaps and a more complex gluing set-up.
Crash-lock bottoms are common on cartons for jars, bottles, candles, heavier confectionery packs and multi-item kits. They also suit retail staff assembling packs at the point of sale, where a fast, reliable base is worth more than the saving from a tuck bottom.
1-2-3 bottom (snap lock) as the middle option
The 1-2-3 bottom, also called snap lock or lock bottom, uses four bottom flaps that interlock when folded in sequence. It holds more weight than a tuck bottom and needs no extra gluing, but each carton is folded by hand at packing. It suits medium-weight products on short to medium runs where the packing time is acceptable and the folder-gluer cost of a crash-lock is not justified.
When are seal end cartons used?
Mainly on automatic packing lines. A seal end carton has end flaps that are glued closed at packing, typically on an automatic cartoning machine using hot melt adhesive. Cereal, dry food and many FMCG cartons use this style because it runs at high speed and closes securely. If the product will be packed on a line, the line's format range, the direction of feed and the glue type should be confirmed before the dieline is drawn, since a carton that runs on one cartoner may jam on another. Ask for the cartoner specification and send it with the brief.
Tuck end cartons can also be packed automatically on suitable machines, but seal end and crash-lock styles are more common in high-speed packing.
When do sleeves, trays and tray-and-lid cartons make sense?
When presentation matters more than a fully closed pack. A sleeve is an open-ended printed tube that slides over a tray, a product or a group of products. It uses little board, prints well on all four faces and is widely used for confectionery, ready-meal style packs and promotional overwraps. Product retention is the main risk: the sleeve needs a tight fit, a locking tab or a tray with a lip so it does not slide off.
Trays are erected from a flat blank by gluing the corners. A four-corner glued tray is the simplest; a six-corner tray folds flat after gluing, which saves freight space and suits fast erecting. Trays are combined with:
- A sleeve, for pastries, chocolates and gift sets where the shopper slides the tray out
- A separate lid (tray and lid, or telescopic), for premium gift presentation with a rigid-box look at folding carton cost
- A hinged lid integrated into the blank, for one-piece bakery and cake boxes
For bakery, a one-piece tray with an integrated lid and corner locks is common because it ships flat, erects quickly in store and can include a window. Grease resistance and food-contact suitability come from the board and coating rather than the structure; see the hub for board choices.
What makes a display carton work?
Mostly the perforated opening. Display cartons hold multiple retail units on a counter or shelf, and most use a tear-off or fold-back front with a perforated line that stays intact in transit but opens cleanly in store. A raised printed header card adds branding. The perforation design is a balance: too weak and the carton opens in the outer case; too strong and staff tear the graphics.
Other features that change the structure:
- Hang tabs (euro slot or round hole) for pegboard display
- Windows, open or film-patched, ideally on a panel without a crease running through it
- Tear strips and perforated dispenser openings
- Inserts and partitions for jars, bottles or assortments
- Tamper-evident closures or seals
Include each feature in the original brief: adding one after approval usually means a new dieline and die.
How are carton dimensions specified?
Carton dimensions are normally given as internal dimensions in the order length x width x depth (L x W x D). Length and width describe the opening, with length the longer side, and depth is the distance between the openings. Getting this order wrong is a common cause of samples arriving with the opening on the wrong face.
Allow for the board caliper and for the product's tolerance. A carton specified to the product's exact size can be hard to pack. Board grain direction also affects panel stiffness and how cleanly creases fold, which is why the converter's structural designer usually sets grain direction on the dieline. See FBB vs SBS vs WLC for how board choice changes stiffness at a given grammage.
Do ECMA codes help when ordering cartons?
Yes, as a shorthand. The ECMA code system, maintained by the European Carton Makers Association, classifies folding carton structures much as FEFCO codes do for corrugated boxes. Quoting a code helps both sides agree on the basic style, but converters adapt each style to the product, board and machines, so a dimensioned dieline or a physical sample is still the binding reference.
If you have an existing carton that works, sending a flat, unglued sample (or carefully opening one) is often more useful than any code, because it shows the exact flaps, locks and glue areas.
Which style mistakes are most common?
- Choosing tuck bottoms for heavy products: test a white sample with the real product and drop it from shelf height.
- Ignoring the packing method: a style that suits hand packing may not run on an automatic cartoner, and vice versa.
- Specifying external instead of internal dimensions, or mixing up length and width.
- Placing windows across creases or too close to edges, which weakens the panel.
- Adding inserts, hang tabs or windows after the dieline is approved, which triggers new tooling.
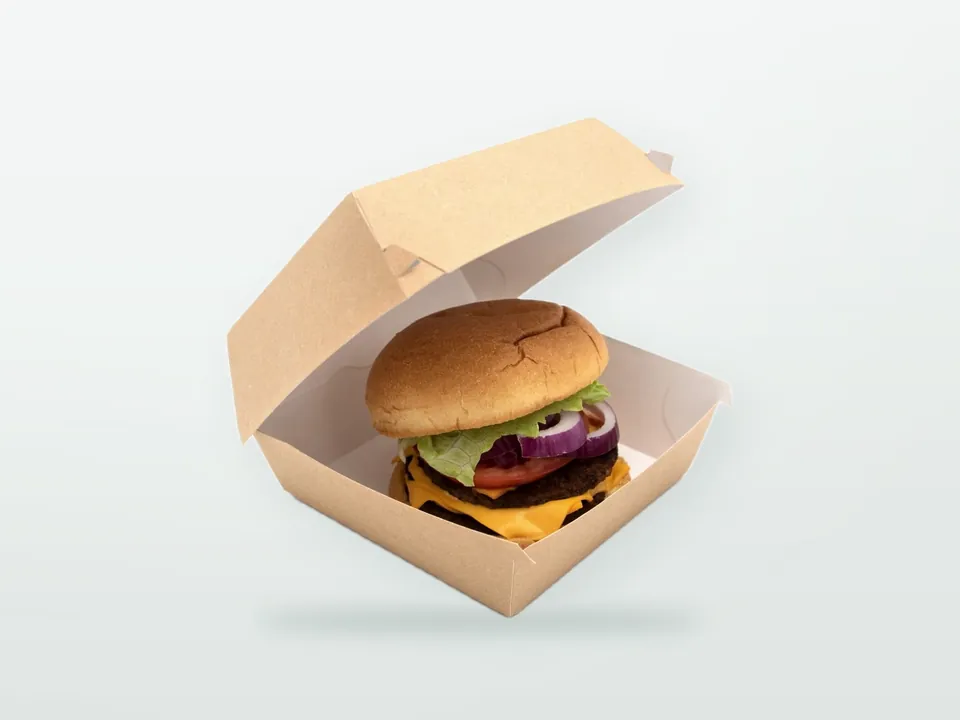
- Copying a burger or takeaway structure for a retail product. Foodservice cartons are designed for speed and venting, not shelf display; see burger box designs for that family.
What to decide before requesting a dieline
Bring these to the structural brief so the first white sample is close to final:
- Product dimensions, weight and fragility, plus a physical sample where possible
- Packing method: by hand (and how many per hour) or on a named cartoner
- Preferred style or a reference carton to match
- How the shopper opens it, and whether it must reclose
- Display needs: shelf, pegboard, counter display or shipper case
- Add-ons: window, insert, tear strip, hang tab, tamper evidence
- Number of sizes or SKUs that could share one structure
The finished structure then goes into artwork; our packaging artwork guide covers how graphics are placed on the dieline. When the structure is clear, return to the folding carton hub to complete the specification or send the brief for review.